

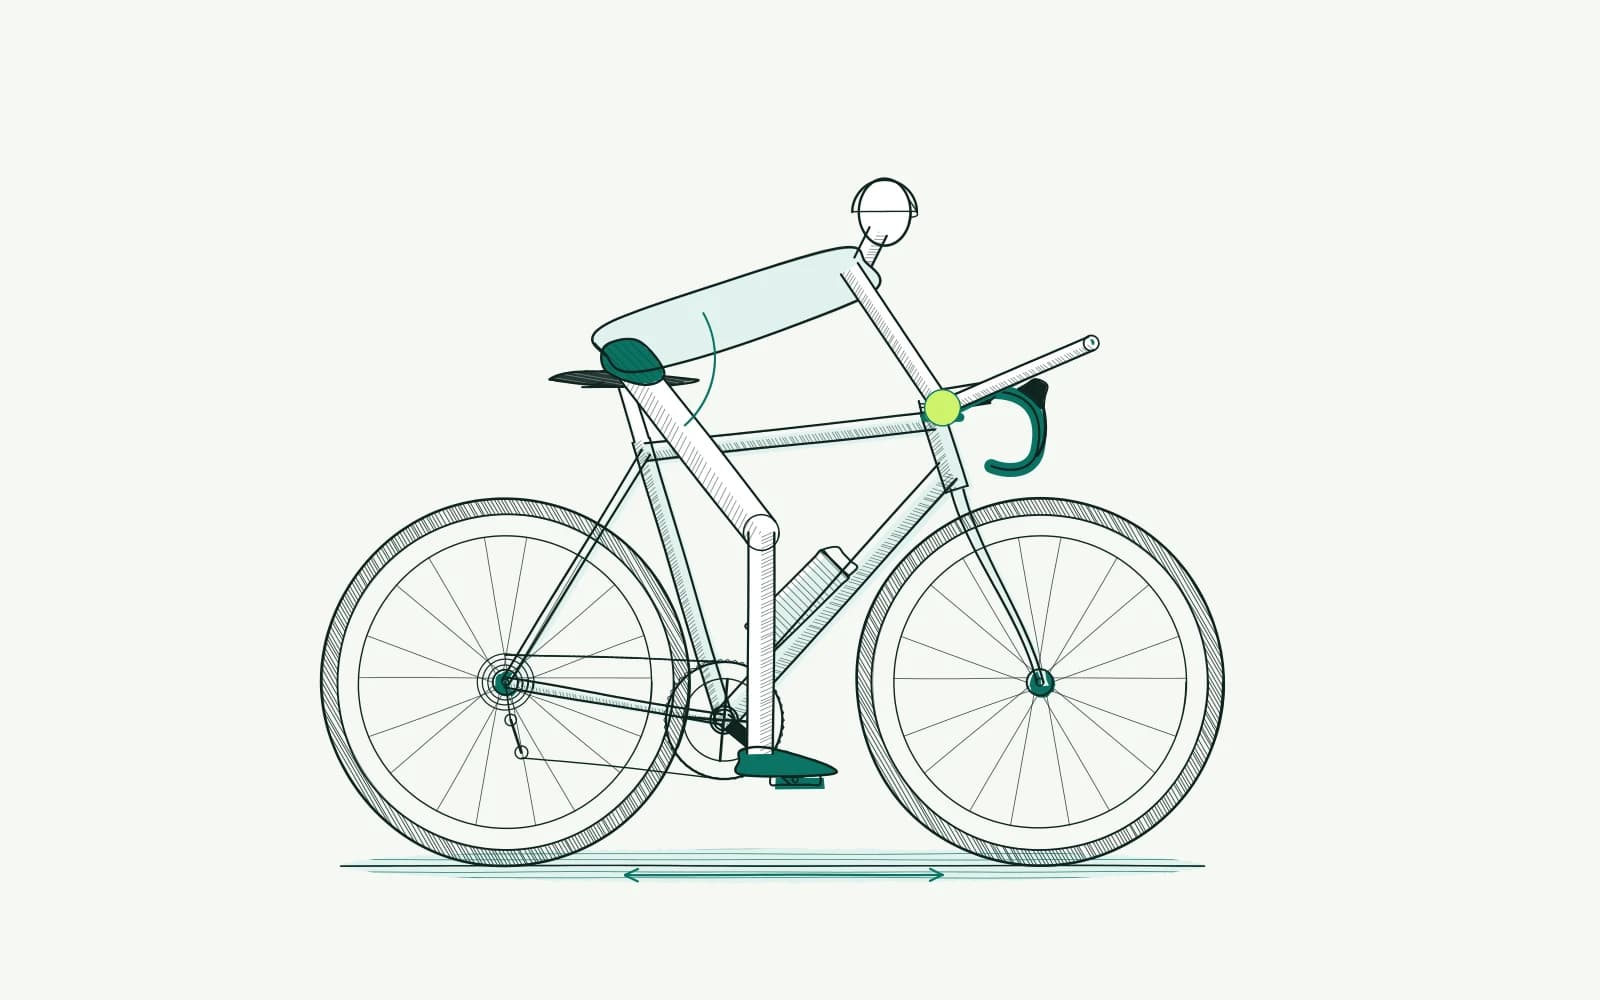
The problem: assessing triathlon bike fit
You settle onto the armrests, but soon sit up again. You slide across the saddle. Your shoulders tense or looking ahead becomes tiring. The position looks low, yet feels difficult to maintain on the road.
This can happen on a dedicated triathlon bike or a road bike with aerobars. Perhaps you copied another rider's position. Perhaps the armrests changed without checking the remaining setup. What looks convincing in a photograph might not work for your body and bike.
Record when you leave the position. Does it happen immediately, while pedalling harder or only later in a long ride? Note whether pressure, visibility, breathing room or control access prompts you. These differences help determine what to examine first.
This guide helps you establish a baseline you can check. It does not predict race times or provide a diagnosis. A position you maintain only with increasing symptoms does not represent a successful trial.
Background: armrests change how you are supported
On aerobars, your forearms provide part of your support. Armrest height, distance and width therefore become relevant. The handgrips must remain reachable too. Assess these parts alongside saddle position, rather than as separate accessories on a road bike.
A lower support point changes how your upper body sits over the bike. You still need to look ahead and pedal comfortably. A photograph cannot show how much effort that requires. A low position alone also cannot prove a speed gain on your ride.
The saddle determines where your pelvis finds support. Different saddle shapes have different recognisable measurement points. Avoid measuring only from the saddle nose when comparing two models. Also record the model and where you actually sit.
Sliding can have several explanations. Examine saddle support, distance to the armrests and the circumstances in which it happens. Do not automatically move the saddle forwards to reach distant supports. That also changes your position relative to the pedals.
With many aerobar arrangements, the brakes remain on the main handlebars. You therefore need a safe transition from the supported position to braking. Check how your particular bike is assembled. Busy traffic is not suitable for practising an unfamiliar transition for the first time.
Body measurements provide only a starting point. They cannot independently determine your best armrest height, hip angle or racing position. A fitter can observe you pedalling and assess the combination. The manufacturer determines which supports, attachments and adjustment positions are technically permitted.
How to approach it with bike fitting
-
Record your intended use: Describe the ride you are preparing for and when you use the armrests. Note why you currently sit up and where you feel pressure or tension. Make your first comparison at an easy effort.
Keep shoes, clothing and saddle consistent. Outside, choose a clear area away from busy traffic. Indoors, use only a stable trainer arrangement that is suitable for your bike.
-
Measure the support points: Use a tape measure, spirit level and fixed references with the bike upright. Record saddle height, setback and your chosen saddle reference. Measure armrest height and horizontal distance relative to the bottom bracket.
Also record the distance between the supports and the handgrip position. Photograph the attachments. This lets you return to your starting position without relying on memory.
-
Check control access and support: Adopt the position with secure support and check whether your hands remain relaxed. Look ahead without continually directing your gaze towards the front tyre. Practise reaching the brakes while stationary, then at low speed.
If braking or steering is inadequate, do not continue riding in that position. Have a fitter or mechanic check access and installation before testing on public roads.
-
Adjust one component: To investigate slightly higher support, try a 2–5 mm increase, for example, if the system permits it. Use only approved components and the specified attachment method. This small trial step is not prescribed treatment or a universal triathlon measurement.
Not every system offers these increments. Do not force an intermediate position or use improvised spacers. Follow tightening torque requirements, saddle rail limits and the instructions for your particular aerobars.
-
Test without forcing the position: Compare one change over two to three easy rides while you remain comfortable and safe. Record visibility, support, pedalling and ease of reaching the brakes. Stop if things worsen and restore your recorded safe position.
Stop for pain at rest or at night, swelling or radiating tingling, and seek medical assessment. Consult a fitter or doctor if symptoms persist after three to four careful adjustments. Do not try to suppress these signs by lowering your position or forcing further familiarisation.
Further reading
- Road bike fit: your three contact points helps you check the ordinary handlebar position alongside armrest use.
- Compare bikes for fit: contact points first makes differences between your road and triathlon bikes easier to measure.
- Cycling power and speed: what changes? explains why a low position alone cannot establish your speed.
- Lower back pain cycling: check your position calmly helps you describe recurring tension before adjusting again.
- The bike fit calculator organises baseline measurements for further assessment of saddle and support points.
Frequently asked questions
Can aerobars fit on any road bike?
First check whether the bars and attachment are approved for that use. Material, shape and installation instructions determine what is permitted. Ask a mechanic if you are uncertain. A clamp that physically fits does not prove compatibility or show that you can safely achieve the desired position.
How can I tell whether my armrests are too far away?
Record whether you slide forwards or maintain constant tension. Then examine distance alongside saddle support and hand position. That feeling provides a question to investigate, rather than a definite diagnosis. A fitter can observe you pedalling before you start changing several components at the same time.
Should I remain on the armrests throughout every training ride?
No. Choose your hand position according to conditions and control access. Move to the brakes early when traffic or the route requires it. A practice ride need not prove how long you tolerate discomfort; record why you sit up and discuss recurring symptoms with an appropriate professional.
Can I set my hip angle from a photograph?
A side photograph can support a discussion with a fitter. Timing, camera angle and your posture affect what it shows. Avoid treating an arbitrary example angle as your target. Focus on how you pedal, find support and look ahead, and have uncertainty assessed during movement.
This guide covers one part of your riding position. Read how bike fitting connects your measurements and bike setup.
Record your starting position and check saddle support, armrests and brake access during an easy test ride.
Calculate your bike fit