

The problem: checking your road bike fit
Your road bike feels comfortable at first, but you keep changing position during the ride. You slide towards the saddle nose or increasingly use the tops of the bars. Perhaps you avoid the drops because reaching the brakes feels difficult there.
Sometimes the uncertainty starts with a new saddle, different shoes or a borrowed bike. The frame size seems right, yet the whole position feels different. You want to identify what needs attention without moving everything at once.
Record where discomfort starts and what you are doing then. Are you riding easily, into the wind or downhill? Are your hands on the hoods or in the drops? Note whether the same symptom occurs away from cycling too.
This guide helps you check all three contact points together. The aim is a usable starting position for your rides. Low handlebars in a photograph do not prove that you can ride safely and comfortably.
Background: three contact points form one position
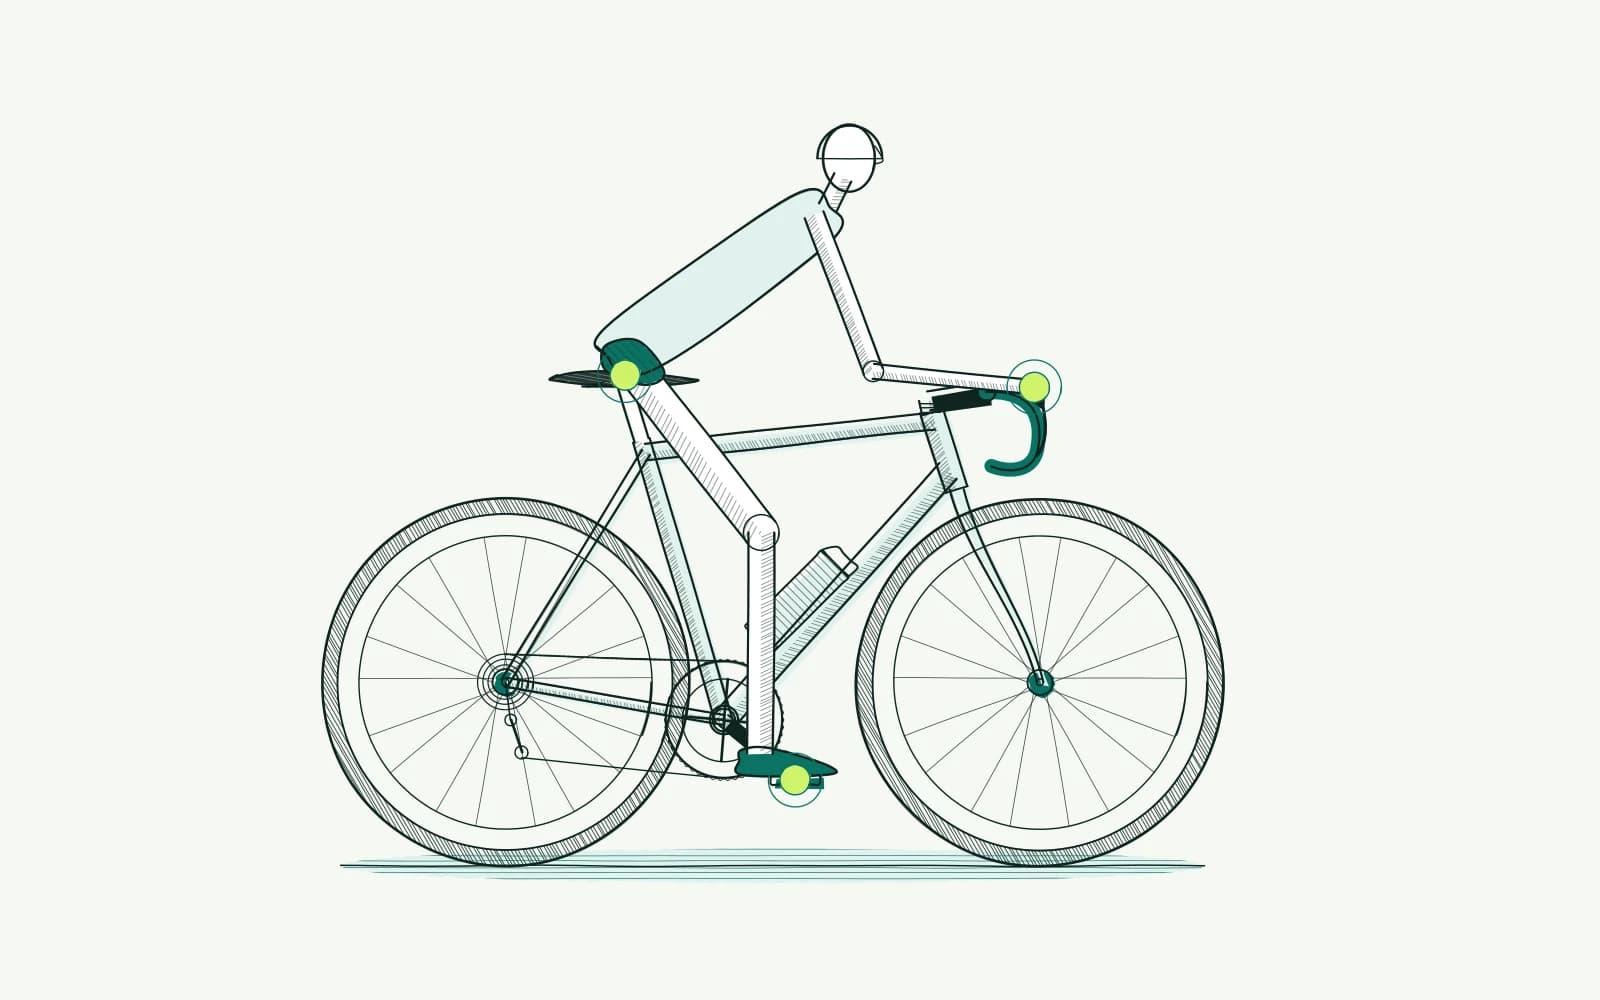
The saddle supports your seating, pedals connect your feet to the bike and handlebars provide hand contact. Distances between them determine where your body has room. Moving one point changes its relationship to the others too.
Moving a saddle forwards, for example, shortens the distance to the brake hoods. It also changes your seating relative to the pedals. Do not automatically use that movement to solve distant handlebars. First check whether you can find a usable seating area on the saddle itself.
At the front, more than stem length matters. Bar height, bar shape and brake hood placement together determine your hand position. The height difference between saddle and bars is called drop. Equal drop on two bikes does not automatically produce the same position.
Your shoes belong in this comparison too. Different shoes, pedals or cleats change the contact beneath your feet. Record those changes before attributing a difference entirely to the saddle. A tight shoe closure also needs a different check from an unreachable brake lever.
Your ride determines which position needs to remain usable. Riding steadily, braking and looking behind involve different demands from sitting for a photograph. Fatigue, clothing and your chosen effort can also change the experience. Compare rides that are reasonably similar.
An online calculation organises body measurements and provides a starting point. It cannot see a loose component or check whether you can reach your brakes. It cannot explain pain or replace an assessment of your movement on the bike either.
How to approach it with bike fitting
-
Create a useful baseline: Stand your bike upright on a level floor and take a side photograph. Gather a tape measure, spirit level and notebook. Record saddle height from the bottom bracket centre to an identifiable point on the saddle.
Record saddle position, bar height and distance to the hoods too. Describe your measuring points, shoes and pedals. You can then actually return to the same position later.
-
Check the controls first: While stationary, check whether both brake levers are within comfortable hand reach. Then try gentle braking and steering somewhere safe. Use only hand positions that let you reach the necessary controls safely.
Ask a mechanic to check hood position or lever reach if uncertain. Do not rotate bars or hoods arbitrarily to hide a problem. Check that cables remain clear when steering too.
-
Assess seating and foot contact: Describe whether you slide forwards, sit unevenly or seem to reach for the pedal. Check shoe closure and cleat attachment. Then choose one specific question for your trial.
If you have reason to investigate excessive saddle height, lowering it by 2–5 mm is one small trial example. This is not a prescription for pain. Keep the old measurement and do not change saddle tilt simultaneously.
-
Investigate hand reach next: Does your seating remain usable while the hoods feel distant? Record whether distance or height feels difficult. Discuss a suitable stem or permitted height increase with a mechanic.
Respect manufacturer insertion markings, clamping zones and torque settings. Do not force extra height beyond the permitted assembly. The bike fit calculator helps compare your body measurements with your starting position.
-
Compare calmly and reverse when necessary: Test one change over two to three easy rides while you remain symptom-free. Keep route, clothing and effort comparable. Record seating, hand pressure and control access after each ride.
Stop for new pain, lost sensation or reduced control. Restore the recorded safe position; have uncertain installation checked before riding again. A trial is only useful when you know what changed.
-
Recognise the limit of self-adjustment: Stop experimenting for pain at rest, night pain, swelling or radiating tingling. Seek medical assessment then. If pain persists after three to four careful adjustments, consult a fitter and, where appropriate, a clinician.
Further reading
- Bike setup measurements: record your position helps you choose measuring points before moving components.
- Compare bikes for fit: contact points first explains why equal frame sizes do not mean equal contact points.
- Endurance bike fit: comfort over distance helps you assess the same position during longer rides.
- Numb toes cycling: pressure and shoe fit explores foot contact when shoes or toes need attention.
- The bike fit calculator organises body measurements into a useful starting point for checking your complete position.
Frequently asked questions
Should I be able to ride in the drops frequently?
You do not need to target a fixed time in the drops. Check that any hand position you use allows safe control access. If you avoid the drops because of unreachable brakes or discomfort, have the relationship between bar shape, hoods and position assessed.
Can I transfer my position from another road bike?
Use the old position as a comparison and record the components too. A different saddle shape or hood can make an identical measurement feel different. Check actual support and control access on the new bike. Do not copy measurements beyond that bike's installation limits.
Is a lower front end always an improvement?
No, height alone cannot tell you whether a position is usable. A change also needs to suit your rides and movement. Assess whether you can keep looking, steering and braking as needed. Retain a comfortable baseline when there is no clear reason to change it.
Should I measure again before every ride?
Keep a clear baseline measurement and measure again after an adjustment or component change. Compare unexpected changes with those notes first. Check the attachment if something appears to have moved. Repeated adjustments without a clear question make your observations harder to compare.
This guide covers one part of your riding position. Read how bike fitting connects your measurements and bike setup.
Record your three contact points and use the calculator to check your starting position.
Check your bike fit