

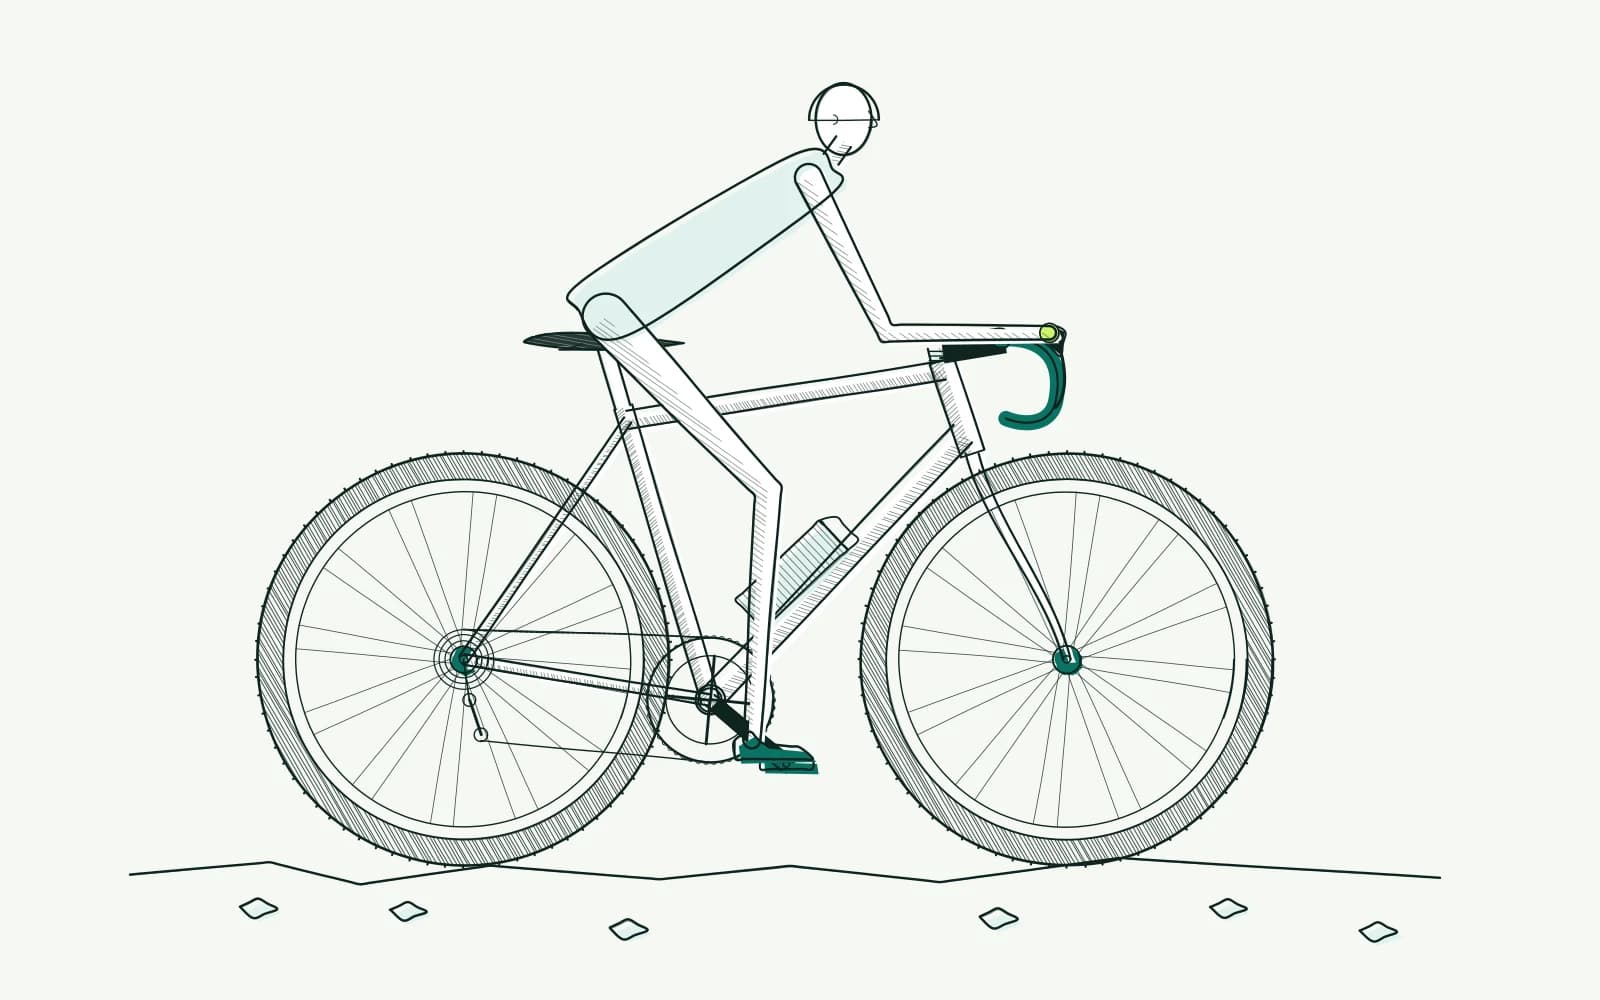
The problem: assessing gravel bike fit
Your gravel bike feels familiar on tarmac. Once the track becomes bumpy, you grip the bars harder. Your arms stiffen or you slide towards the saddle nose. On a descent, you search for a comfortable braking position.
Those are reasons to assess position and control together.
Gravel rides vary considerably. A flat compacted path makes different demands from a loose, steep descent. Luggage and ride length also change the conditions. Copying someone whose riding differs substantially can therefore disappoint.
You do not automatically need to make your road position higher or shorter. Start with what happens to you. Record the surfaces where tension appears and which hand position you use. Check whether fatigue only develops later in the ride.
That information helps distinguish questions about setup, equipment, technique and ride planning.
Background: position and control belong together
You contact the bike through saddle, pedals and bars. On uneven ground, the load changes continually. You need room to respond without losing access to the controls. A stationary photograph cannot therefore describe every aspect of a useful gravel position.
The brake hoods are a logical starting point. You need to reach the levers from the hand position you actually use. Flared bars also change the shape and width of the drops. That can feel pleasant but requires its own assessment.
A wide bar is not automatically safer for every rider.
Bar distance and height influence how your upper body rests. Reaching too far can make relaxed movement harder. Changes to the stem or spacers must stay within installation limits. Do not use saddle position solely to bring unsuitable bars closer.
Tyres and tyre pressure affect how the ground feels too. Do not immediately interpret equipment-related vibration as an incorrect body measurement. Check pressure with a reliable gauge and consider the permitted tyre and rim combination. A calculator provides a starting point, not permission to exceed manufacturer limits.
Technique, route choice and fatigue also matter. Better setup cannot replace safe speed or appropriate skills. Food and drink can matter on long rides, but they cannot solve an unreachable brake lever. Separate those questions so you understand what a change actually affected.
How to approach it with bike fitting
-
Choose a representative ride: Describe the surface, duration, luggage and places where you notice tension. Record which hand position you use there. Start with a familiar, easy route within your abilities.
A technically difficult trail is not a suitable place to discover whether a newly adjusted position is manageable.
-
Record the bike: Measure saddle height, setback and bar position using a tape measure and fixed reference points. Record millimetres, stem length, spacer height and tyre pressure. Take a side photograph and another of the brake hoods.
Note your shoes, pedals and any luggage. That lets you identify what remained the same during a comparison.
-
Check braking and hand reach: Start safely while stationary, then at low speed in an open, predictable area. Check the hoods and drops alike. You should not need to maintain an awkward wrist position to reach a lever.
If control access is inadequate, have it adjusted before riding an off-road test section.
-
Choose one setup question: Use the bike fit calculator to organise your body measurements and starting position. Then discuss whether bar distance, height or saddle support deserves attention first. Record an agreed change in millimetres or degrees.
There is no fixed gravel correction for every bike. Follow component instructions and have uncertain mechanical work performed by a mechanic.
-
Compare under controlled conditions: Test one change across two to three easy, similar rides while you remain symptom-free. Start on an easy surface, then add a familiar gravel section. Keep pressure, luggage and effort consistent.
Assess relaxed hands, brake access and freedom to move. Stop if control or comfort becomes worse rather than forcing the comparison.
-
Assess and restore where needed: Return to the recorded safe position if the result is worse. Consult a fitter if symptoms remain after three to four careful adjustments. Seek earlier medical assessment for pain at rest or at night, swelling, radiating tingling or lost sensation.
Riding over bumps to get used to those symptoms is not a useful test.
Further reading
- Numb hands cycling: where should you start? helps examine pressure and wrist position when symptoms mainly appear on gravel.
- Saddle pain cycling: support, pressure and friction discusses support and sliding during longer rides on changing surfaces.
- Race versus endurance geometry explains frame comparisons without inferring a riding position from a category name alone.
- Cycling nutrition and hydration helps you prepare for long rides alongside setting up the bike.
- The bike fit calculator gives a measurable starting point for a focused check of your gravel position.
Frequently asked questions
Should a gravel bike's bars always be higher?
No. Your riding, body proportions and current control access determine which change might help. First check where you feel tension and whether you can reach the brakes safely. A higher position is not a universal prescription.
Compare changes calmly and within your bike's permitted installation limits.
Will wider bars solve my hand symptoms?
You cannot assume that beforehand. Width changes where your hands sit and how your arms and shoulders work. Also examine wrist position, reach and when symptoms develop. Recurring numbness deserves assessment; a different bar is not automatically a solution to the cause of the problem.
Can I simply copy my road bike setup?
Use it as information, especially if you ride comfortably on it. Then check the actual contact points on the gravel bike. Bar shape, brake hoods, tyres and use can differ. Test control access on familiar unpaved ground too, rather than transferring saddle height and stem length alone.
Should I test with luggage?
If you mostly ride loaded, luggage belongs in the final comparison. First check that the bike is predictable to control. Then add your normal load within the permitted limits. Record changes in steering and movement, so you do not confuse the effect of luggage with setup alone.
This guide covers one part of your riding position. Read how bike fitting connects your measurements and bike setup.
Record your gravel position, then check comfort and control on an easy route.
Calculate your bike fit